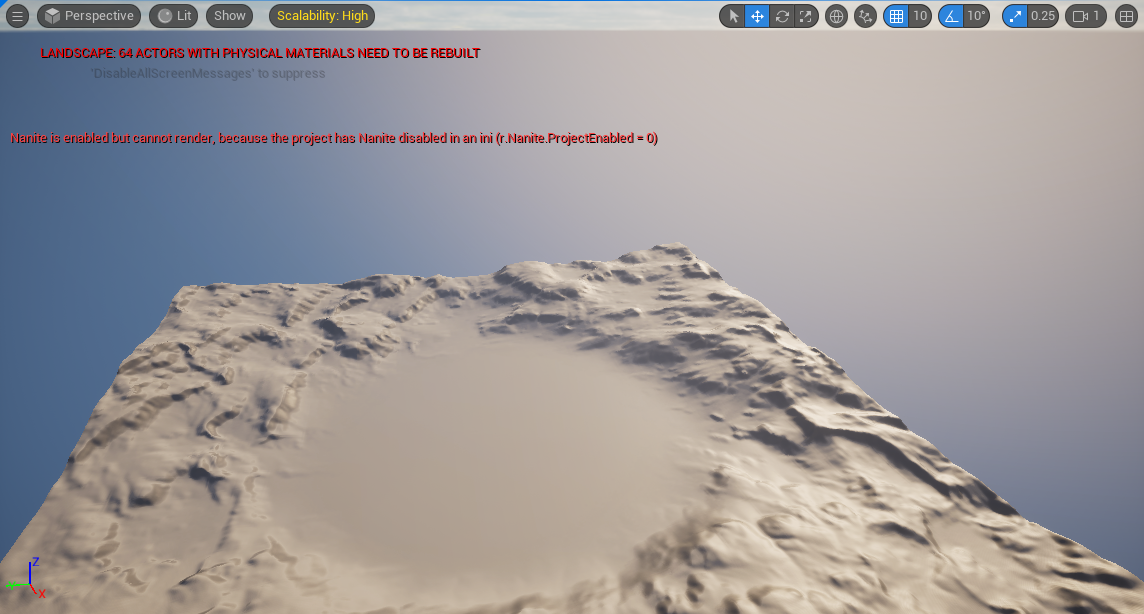
Nanite is Unreal Engine 5’s revolutionary virtualized geometry system, enabling incredibly detailed environments and objects. However, there are situations where game developers might need to disable Nanite, such as compatibility issues or specific design choices. This guide will walk you through the process of how to disable Nanite in Unreal Engine 5 and resolve the common error: “Nanite is enabled but cannot render, because the project has Nanite disabled in an ini (r.Nanite.ProjectEnabled = 0).”

Introduction
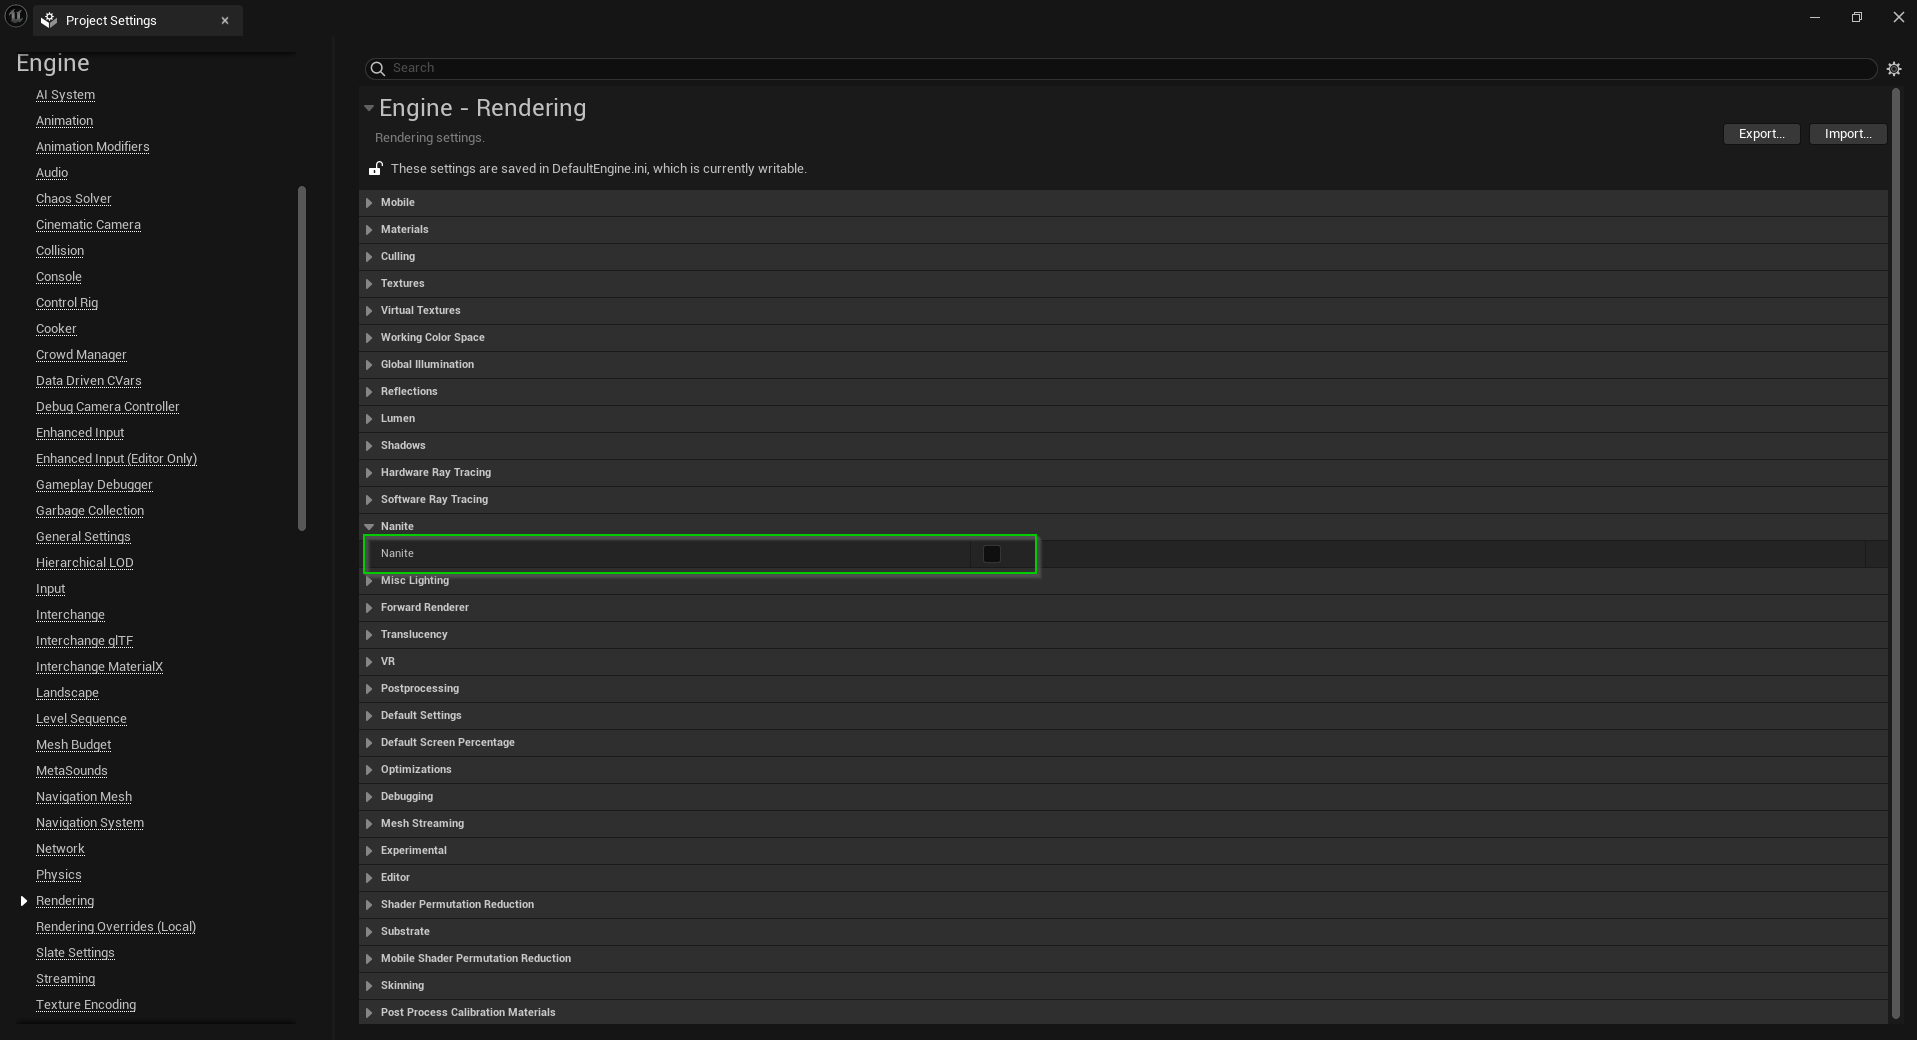
To disable Nanite in Unreal Engine 5:
- Go to
Edit->Project Settings. - Navigate to
Engine->Rendering. - Find the
Nanitesection and uncheck it to disable.
Alternatively, you can search for Nanite in Project Settings and disable it.
Resolving the Nanite Error
Once Nanite is disabled, you might encounter an error stating that Nanite is enabled but cannot render. Here are three ways to fix this issue:
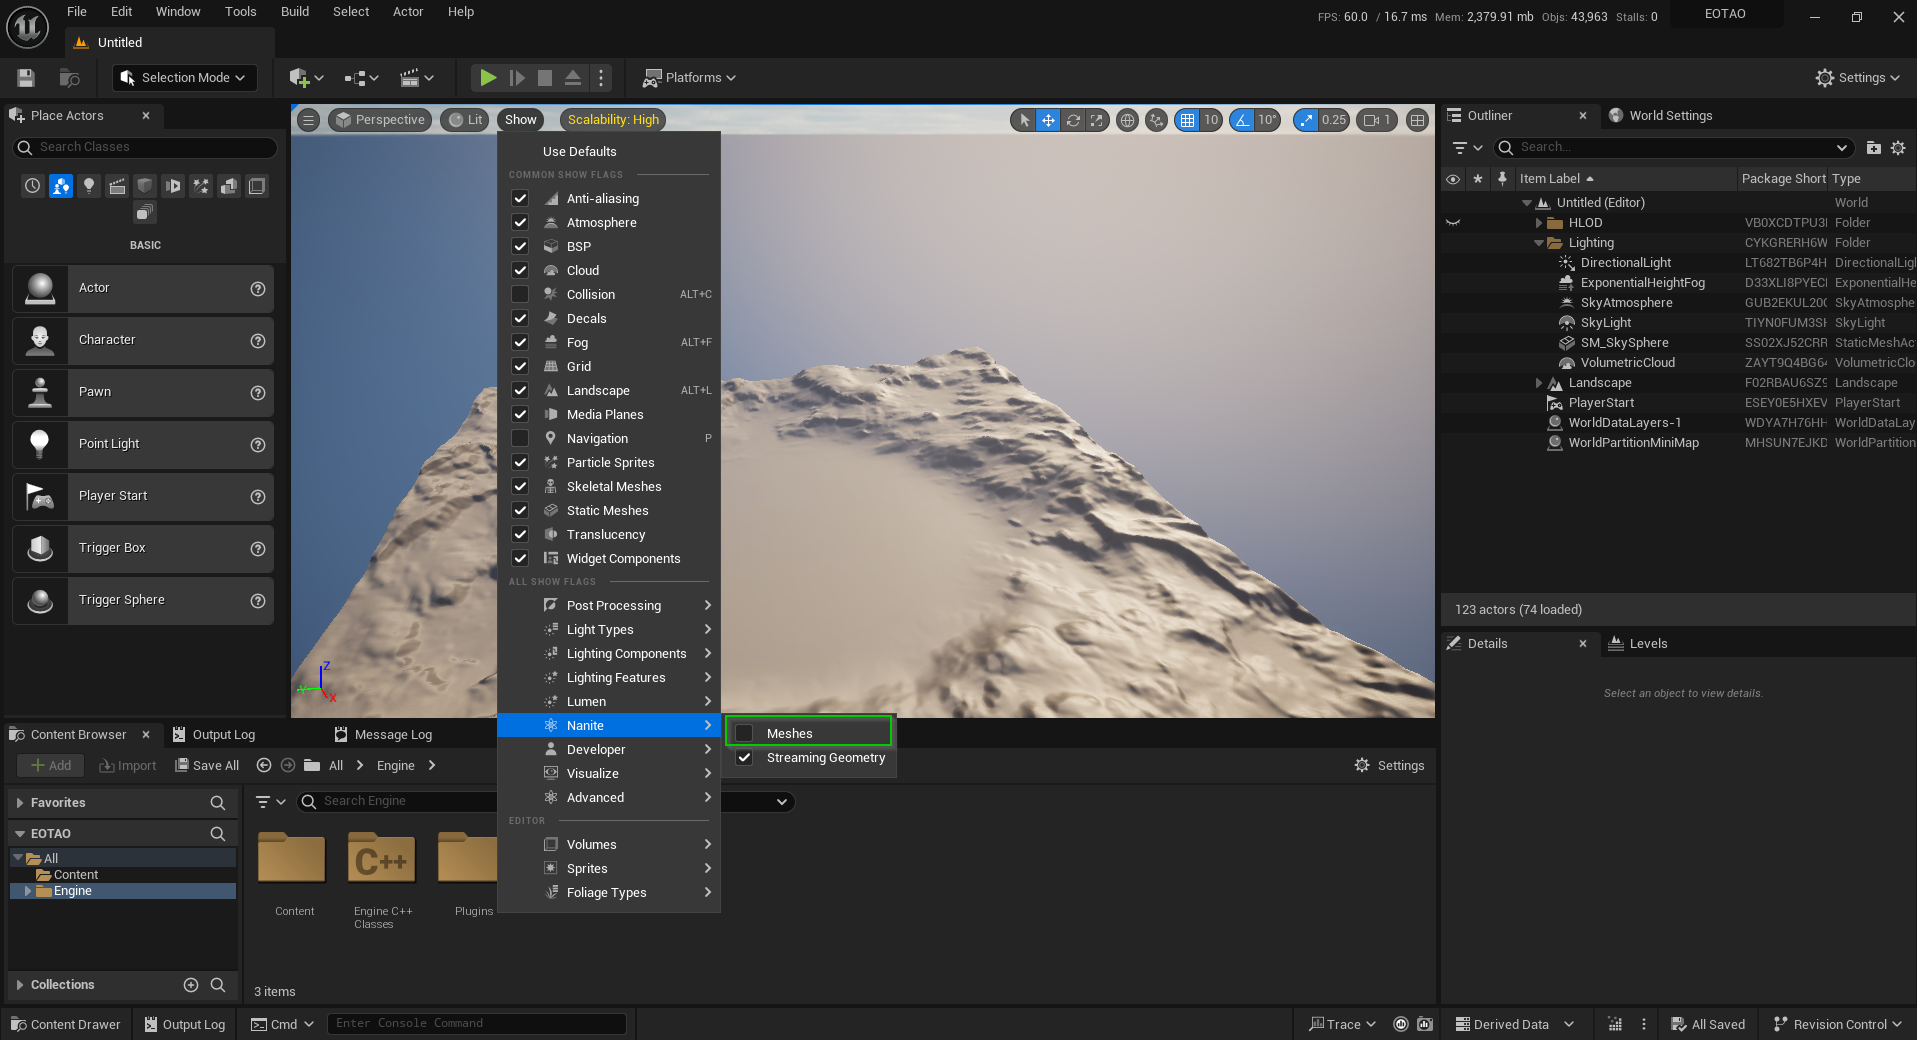
Method 1: Disabling Nanite Meshes in the Viewport
- Open Unreal Engine 5.
- In the viewport, click on
Show. - Navigate to
Naniteand uncheckMeshes.
This method disables the Nanite Meshes visualization, resolving the error in the editor window. Unfortunately with this method, the error message will appear when you play your game in the editor.
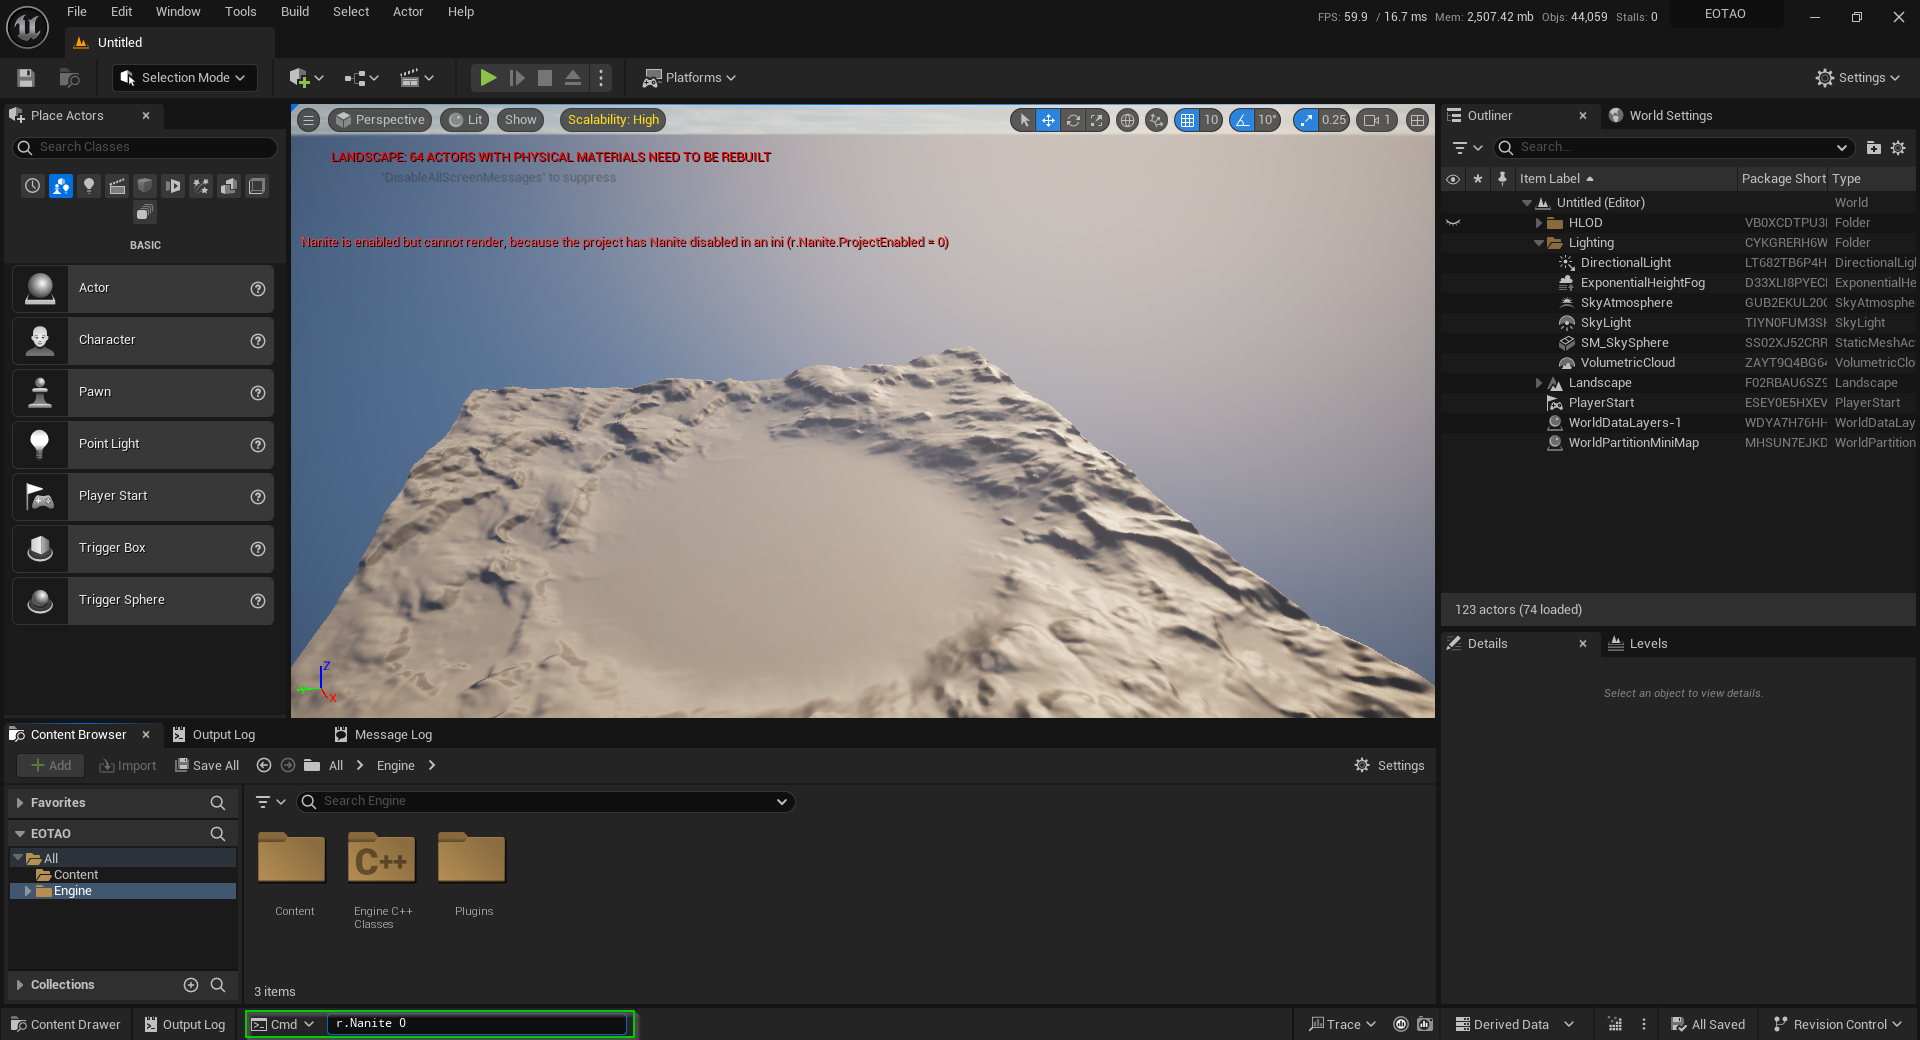
Method 2: Using Command Console and Editing DefaultEngine.ini
- In Unreal Engine 5, locate the Cmd textbox at the bottom of the screen.
- Enter the command
r.Nanite 0. Note that this command needs to be run every time you relaunch the editor.
To make this change permanent:
- Navigate to your project’s root directory.
- Open the
Configfolder and findDefaultEngine.ini. - Add the following line under
r.Nanite.ProjectEnabled=False:-
r.Nanite=0
-
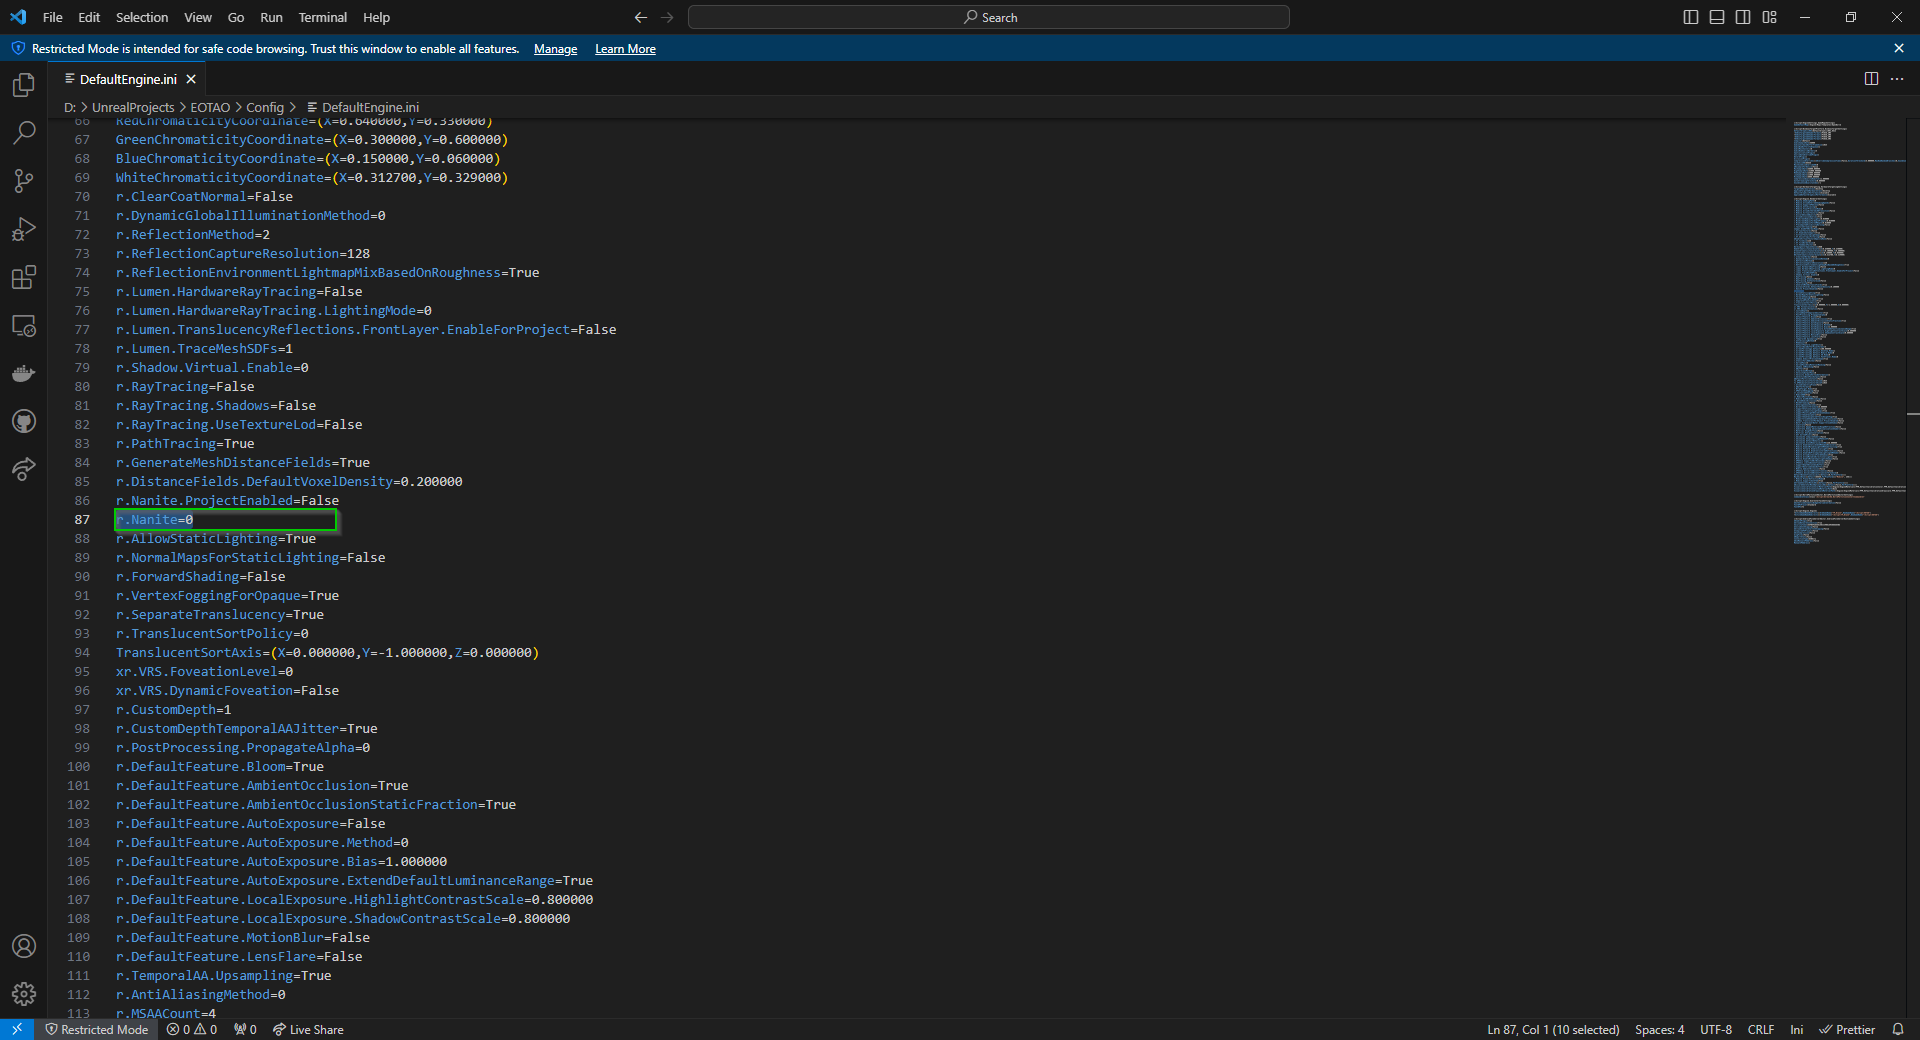
This method permanently disables Nanite, eliminating the need to use the command every time.
Method 3: Switching to DirectX 11
- In Unreal Engine 5, go to
Edit->Project Settings. - Navigate to
Platforms->Windows. - Under
Targeted RHIs, changeDefault RHItoDirectX 11.
Alternatively, search for DirectX in project settings and select DirectX 11.
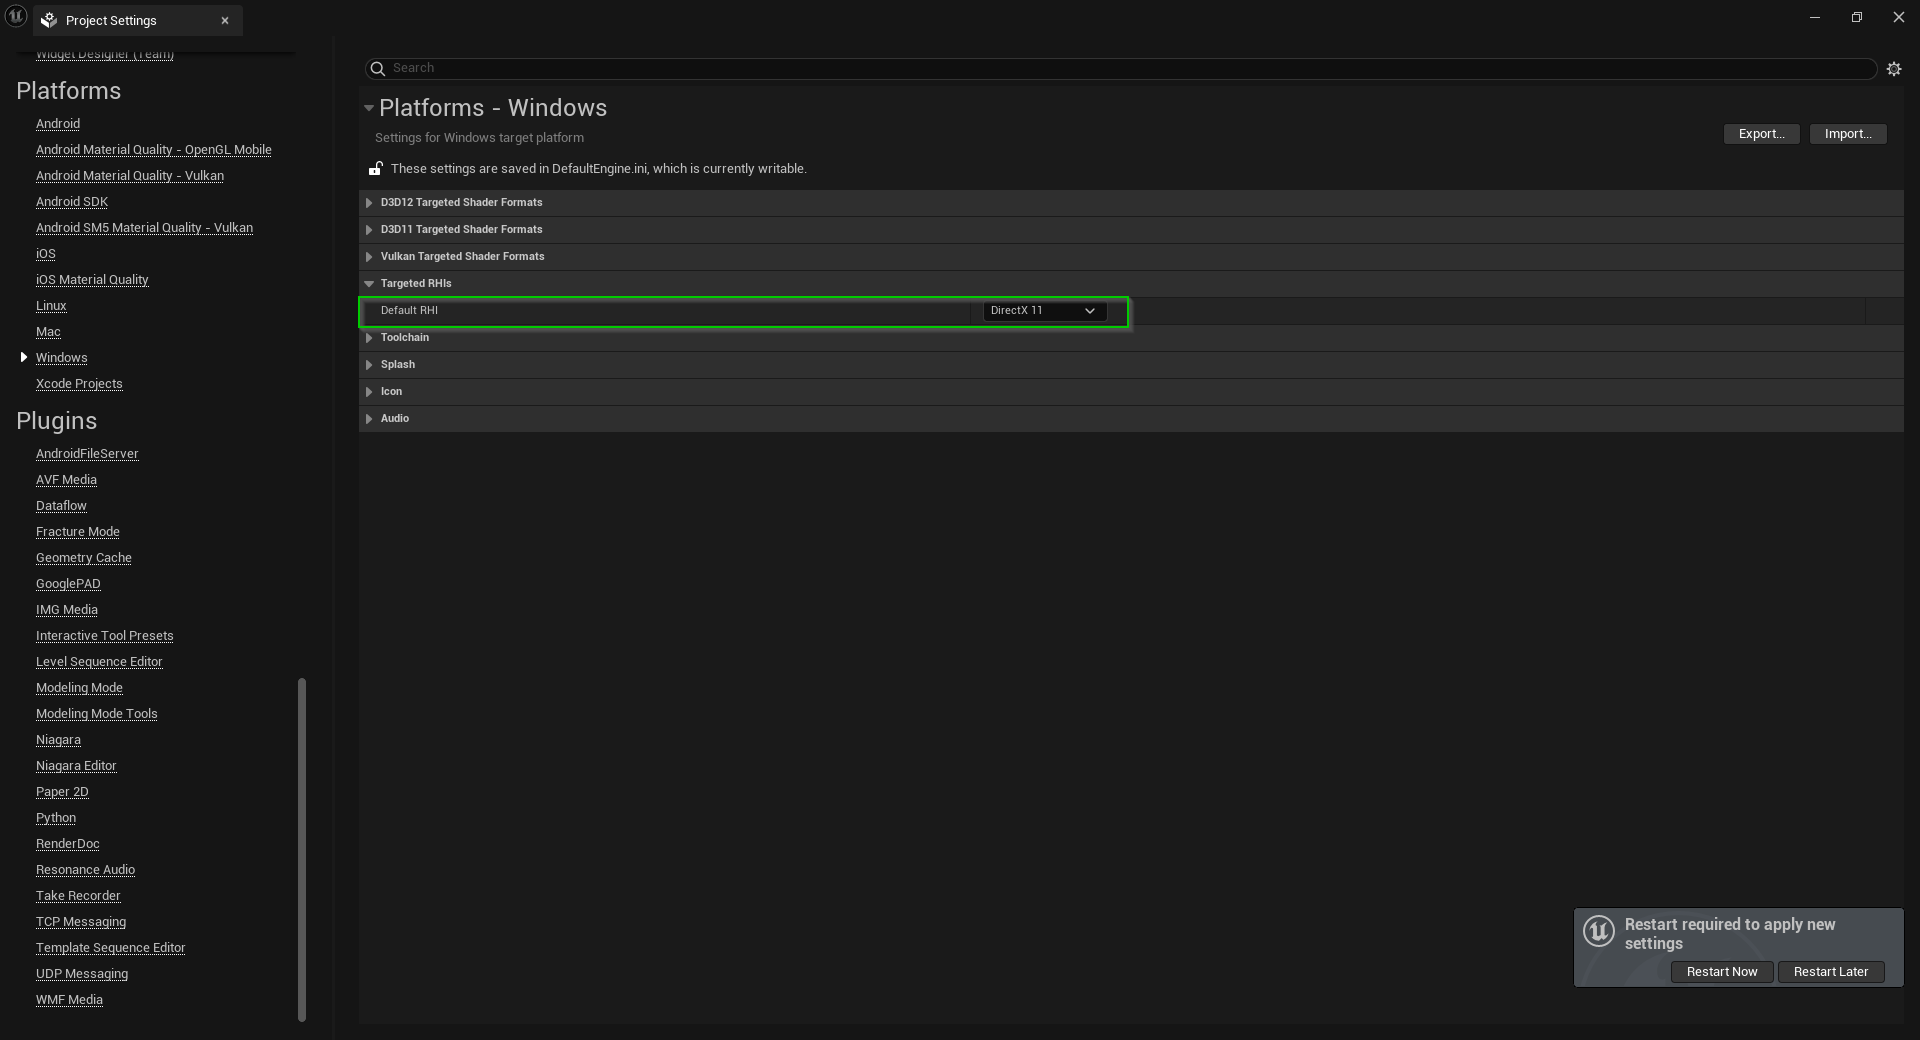
Note: Switching to DirectX 11 will cause you to lose DirectX 12 features and optimizations. It’s important to research the implications of this change. Generally, DirectX 12 may perform better, especially on higher-end GPUs, while DirectX 11 might offer slight improvements on lower-end hardware.
Conclusion
Disabling Nanite in Unreal Engine 5 can be crucial for certain projects, especially those targeting specific hardware or design requirements. By following these methods, you can effectively disable Nanite and resolve any related errors, ensuring a smoother development process. Remember to consider the trade-offs when switching rendering technologies and always test your project thoroughly after making such changes.